Automatically Logging Out Helpdesk Agents
Druid AI Platform provides authors with the tools for automatically logging out the helpdesk agents based on granular working schedules defined in the authoring portal.
DRUID provides you with extensive flexibility in terms of setting up the working schedule. For every helpdesk agent and queue you can define the working schedule. Based on this schedule, DRUID will automatically log out the agents who finished their working schedule if the following conditions are met:
- The agent’s working hours have ended.
- The agent has NO ongoing live chat sessions.
- The last live chat activity (Connect / Disconnect) for that agent is older than 15 minutes.
DRUID runs an automatic job every hour, which will automatically sign out the agent(s) who meet the criteria above. For every automatically signed out agent, DRUID will:
- Log the chat activity event “AgentSignedOutAutomatically” in conversation history DB.
- Set [[HelpdeskAgent]].Status = “SignedOutAutomatically”.
- Set [[HelpdeskAgent]].SignOutTime = the date and time of the agent’s automatic sign out.
- Trigger the SignOutHelpdeskAgent flow to run any automations that might be set on agent’s sign out.
- For backwards compatibility, DRUID the working hours of all existing queues and agents is set by default to 24/7.
- AI Agents do not place users in the waiting queue outside queue’s working hours.
Queues schedule versus agents schedule
| Queue's schedule | Agent's schedule | |
|---|---|---|
|
Scope |
|
|
|
Result |
AI Agents do not place users in the waiting queue outside queue’s working hours. |
Agents can remain logged-in after their working hours end time is reached, if they are still engaged in long-running live chat conversations, or there are still many clients in the waiting queue and agents prefer connecting to all of them. |
- AI Agents do not place users in the waiting queue outside queue’s working hours, even if some of the agents inside that queue have an custom extended schedule.
- Agents can inherit one single queue’s schedule or can have their individual custom schedule. However, the automatic log-out of the agents is only performed according to each agent’s schedule, and not the queue’s schedule.
Set working hours for a queue
You can set up working hours at a queue level and apply it to all agents or specific agents assigned to that queue.
To set the hours of operation for a queue:
- Go to the Live Chat Queues and select the desired queue.
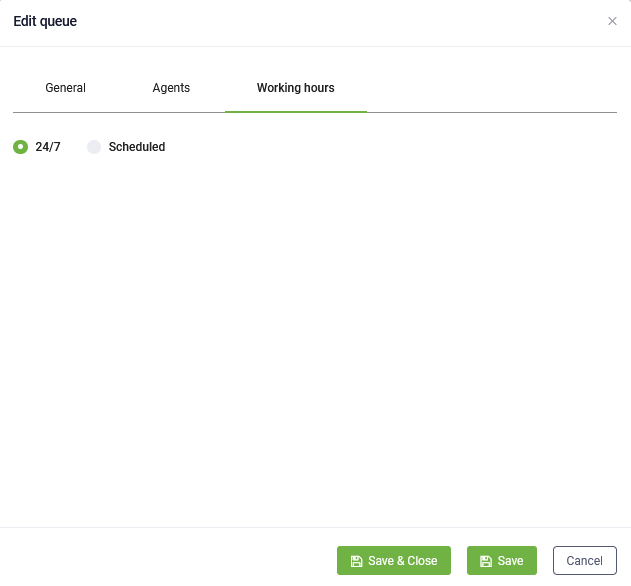
- Click the Working hours tab.
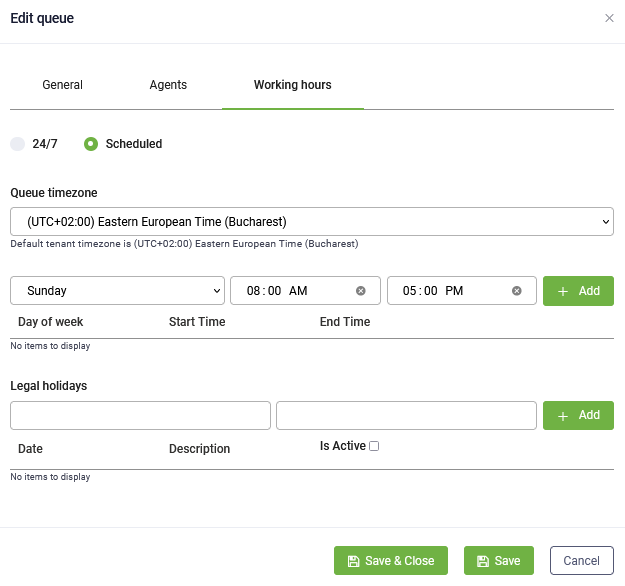
- Select Scheduled. The scheduler appears on the page.
- Select the Queue timezone.
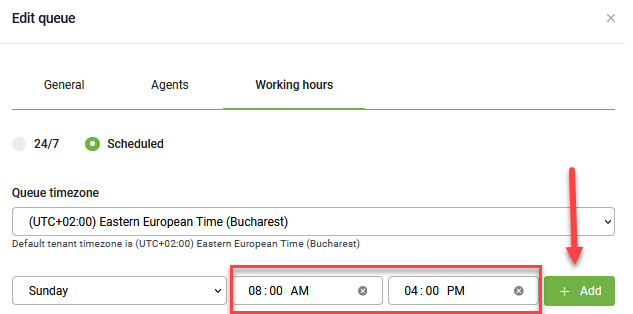
- Add day of week by clicking the Add button next to the day. By default, the daily working hours is from 08:00 AM to 05:00 PM.
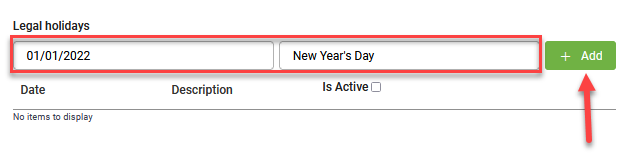
- If helpdesk agents assigned to the queue will be offline during legal holidays or other specific days, add these days in the Legal holidays section. Select the day, enter a description and click Add.
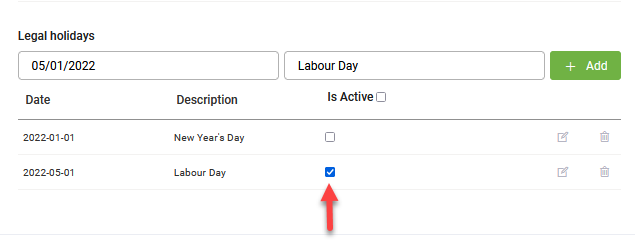
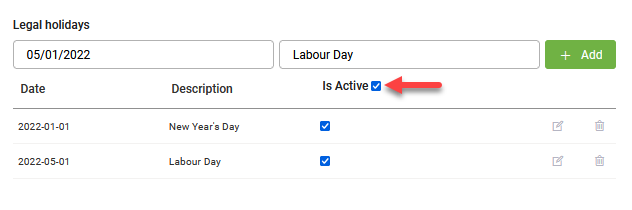
- To activate a holiday for the current queue, tick Is Active.
- Click Save & Close if you want to save the working schedule and exit the page, or Save to save and stay on the page.
- Click Save & Close to save the working schedule and exit the page.

You can either change the working hours and then click Add, or add the day of week with the default working hours and then edit it according to your needs.

Add as many holidays as you need.
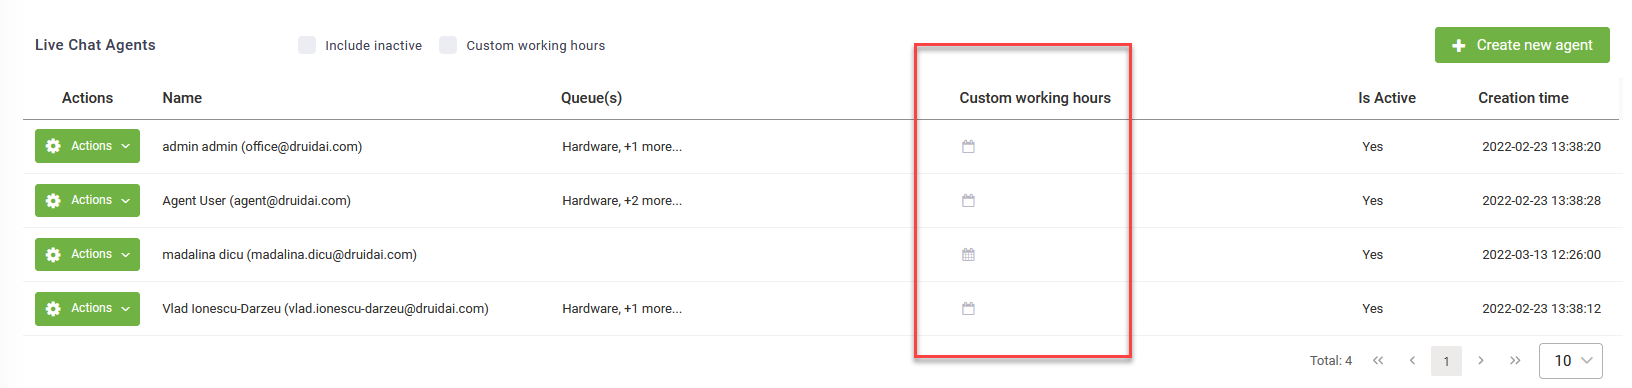
 ) indicates that the agent has the current’s queue working hours while the orange icon (
 ) indicates that the agent has a different working schedule.
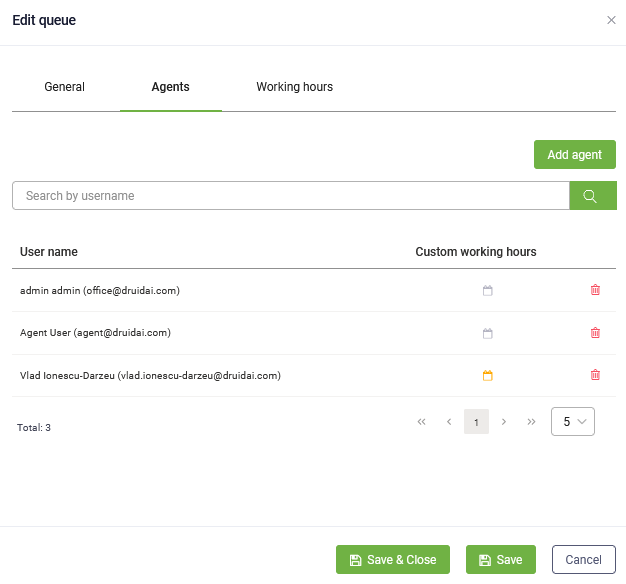
To handle this event in the conversation flow, authors can evaluate the value of [[HelpdeskClient]].IsOutsideWorkingHours (of type Boolean), which is set by the ConnectToHelpdeskAgent internal action, together with the value “false” in @InternalActionResult.
Ex: If @InternalActionResult == false.toString()
Then if [HelpdeskClient]].IsOutsideWorkingHours == true
Send message to user: “Sorry, you are trying to reach out outside the working hours.”
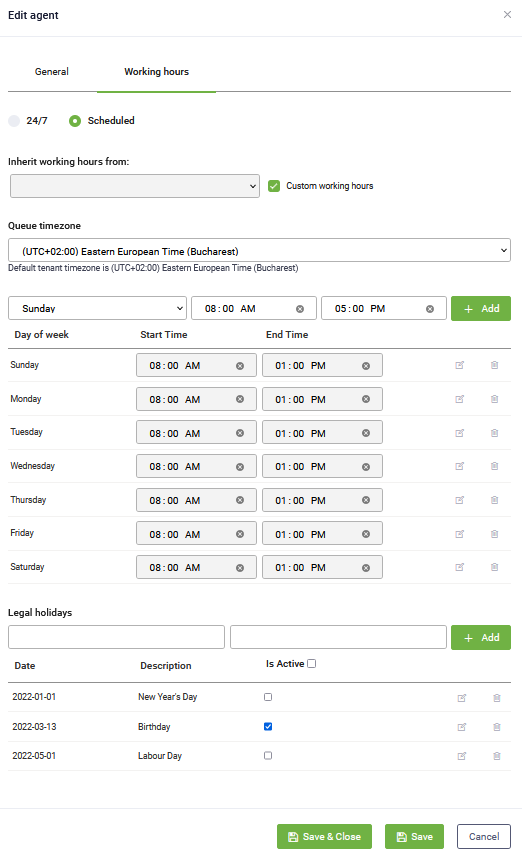
Set working hours for a helpdesk agent
You can set up specific working hours for each of your agents to make sure each shift is properly staffed or in case some agents work part-time or do extra working hours.
Follow these steps to set working hours for an agent:
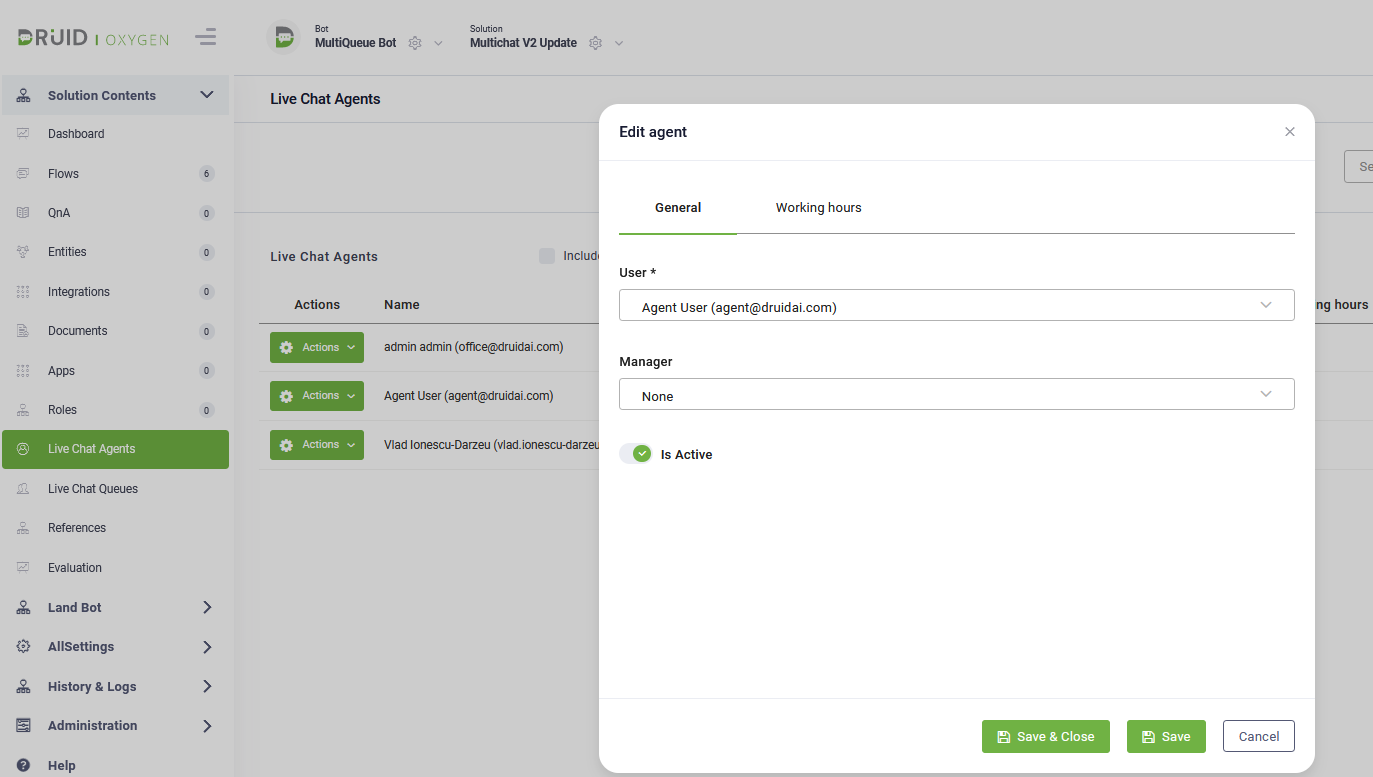
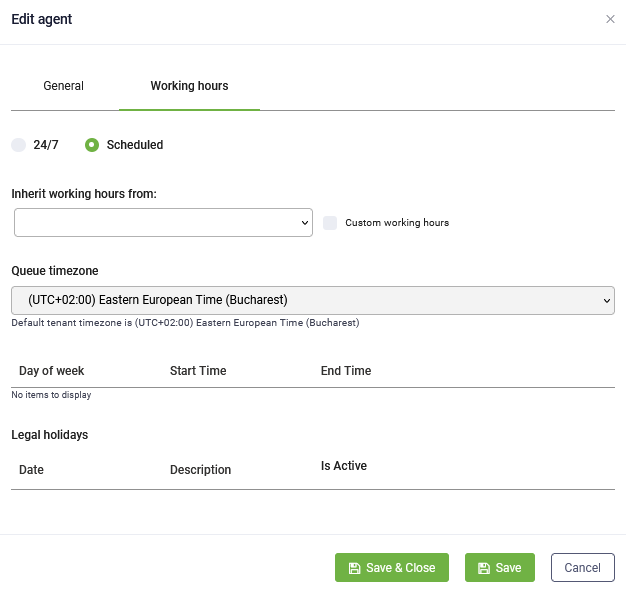
- Go to the Live Chat Agents and select the agent whose working hours you want to modify (by clicking Actions > Edit). The Edit agent page appears.
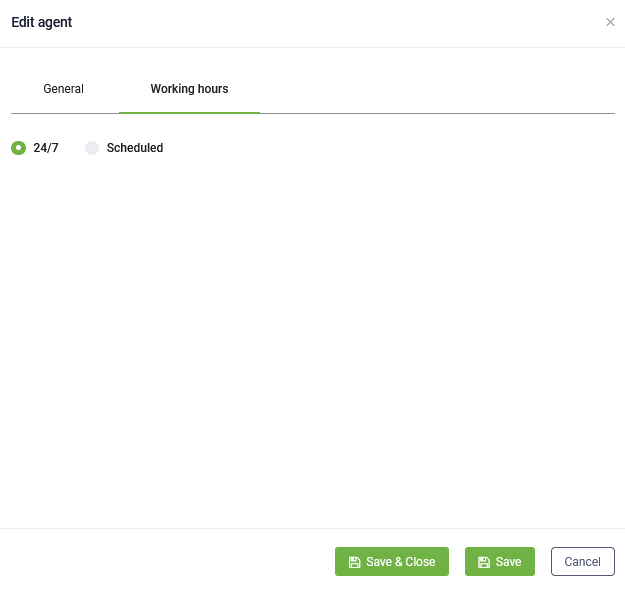
- Click the Working hours tab.
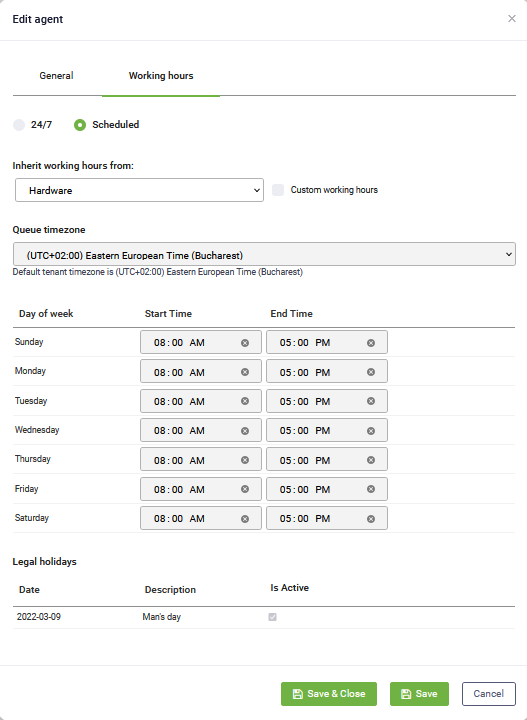
- Tick on Custom working hours.
- Select the Queue timezone. The default queue timezone is the tenant timezone.
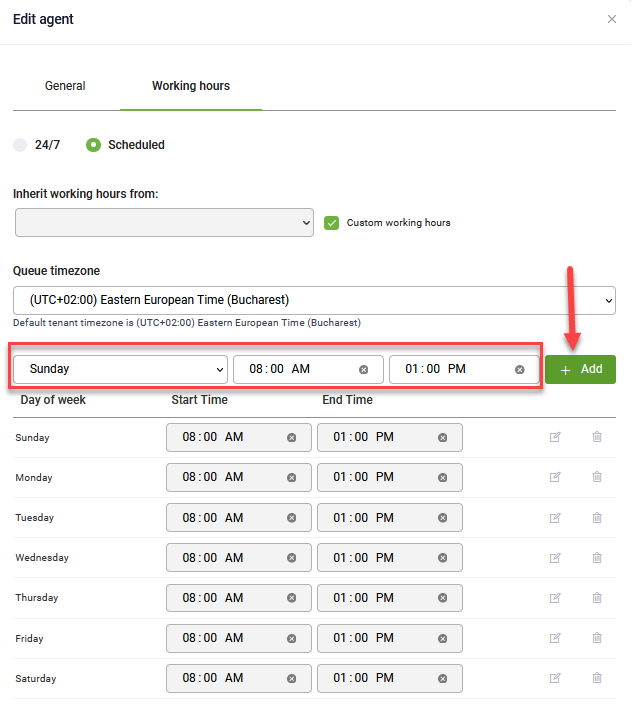
- Add day of week by clicking the Add button next to the day. By default, the daily working hours is from 08:00 AM to 05:00 PM.
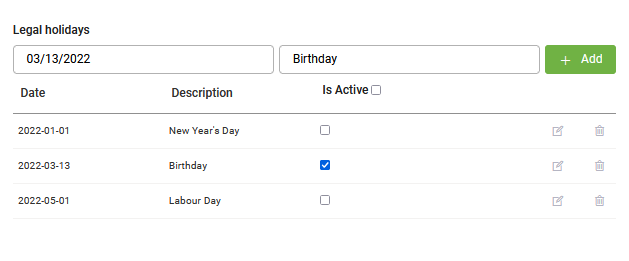
- If the helpdesk agents will be offline during legal holidays or other specific days (e.g., birthday), add these days in the Legal holidays section. Select the day, enter a description and click Add.
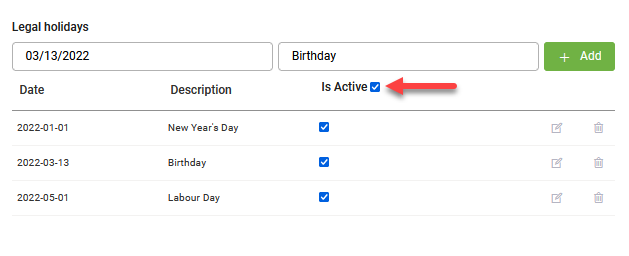
- To activate a holiday for the current agent, tick Is Active.
- Click Save & Close if you want to save the working schedule and exit the page, or Save to save and stay on the page.
If the agent is not assigned to a queue yet, the working schedule is empty.
You can either change the working hours and then click Add, or add the day of week with the default working hours and then edit it according to the agent’s working hours (e.g., part-time, night shift).

The icon displayed in the Custom working hours column on the Live Chat Agents page indicates if the agent has a custom working schedule ( ) or the working schedule of set on a queue (
 ).
).